Imaging
This section describes the imaging and image control features of Bottlenose, and how to acquire images.
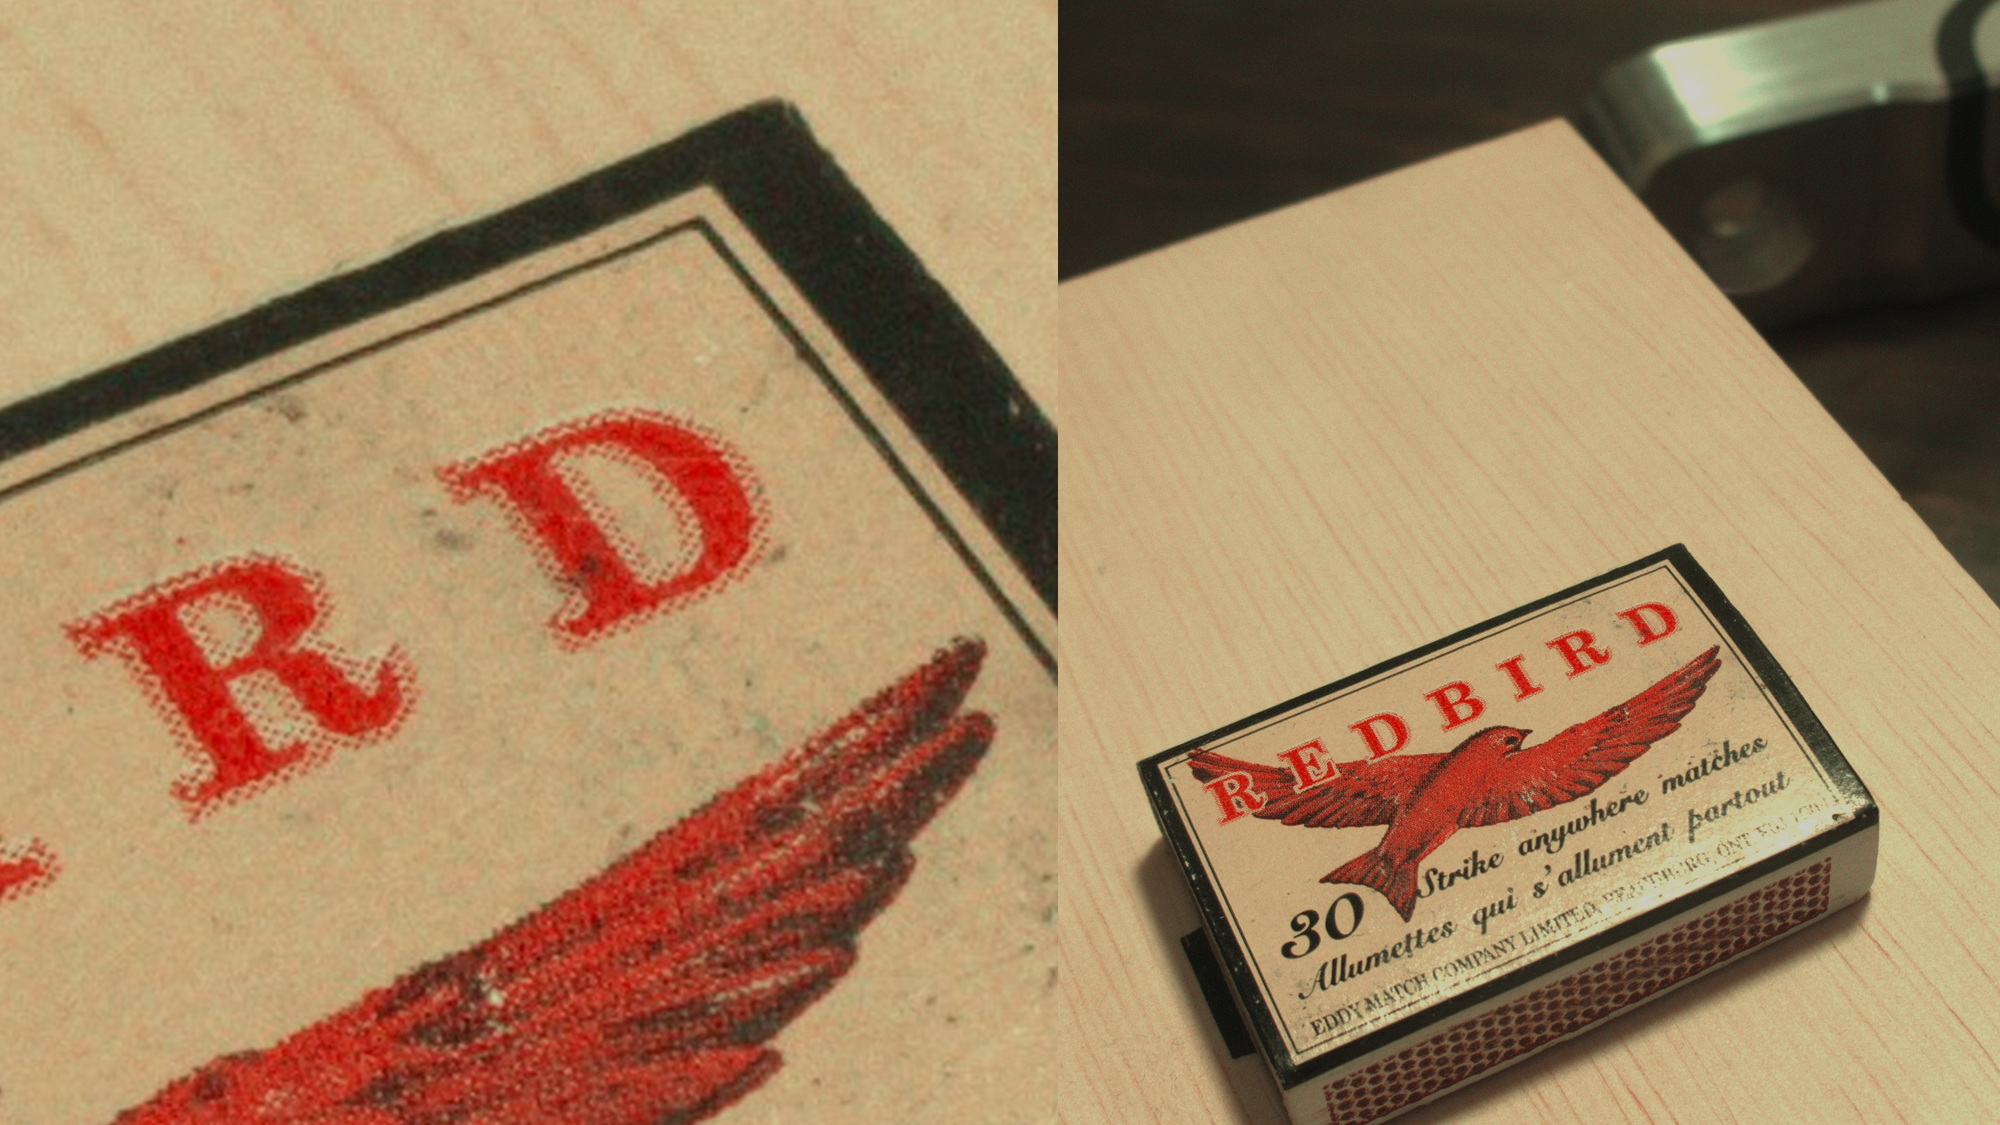
Expected Imaged Quality.
This chapter covers the basic operation of Bottlenose. Before proceeding please ensure the camera is properly connected, has a recommended lens, and the firmware is updated to the latest release as described in Getting Started.
Bottlenose Imaging Pipeline
The Bottlenose imaging pipeline is shown below. The images are acquired by the image sensor(s) and then conditioned by an Image Signal Processor (ISP). The conditioned images are then passed on to various processing blocks such as AI, Feature Points and Depth Processing. Each block of the pipeline is configurable via the GigE Vision 2.1 interface, and as such available in eBus Player, Stereo Viewer, and our ROS2 Driver. In the following sections, we show how to configure the related parameters for all supported platforms.
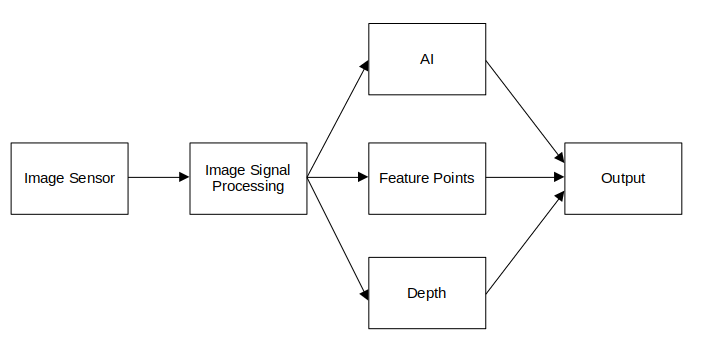
Bottlenose Imaging Pipeline
None of the setting changes on the devices persist beyond a power cycle.
Acquiring Images
Bottlenoses' features can be controlled via the GigE Vision 2.1 interface. A useful frontend to access these features is eBus Player which is installed with the SDK or Stereo Viewer which is installed as part of Bottlenose Utilities. Start eBus Player and connect to the camera by pressing Connect. If the camera is connected to your computer and powered on as described here, it should be visible in the Device Selection dialogue.
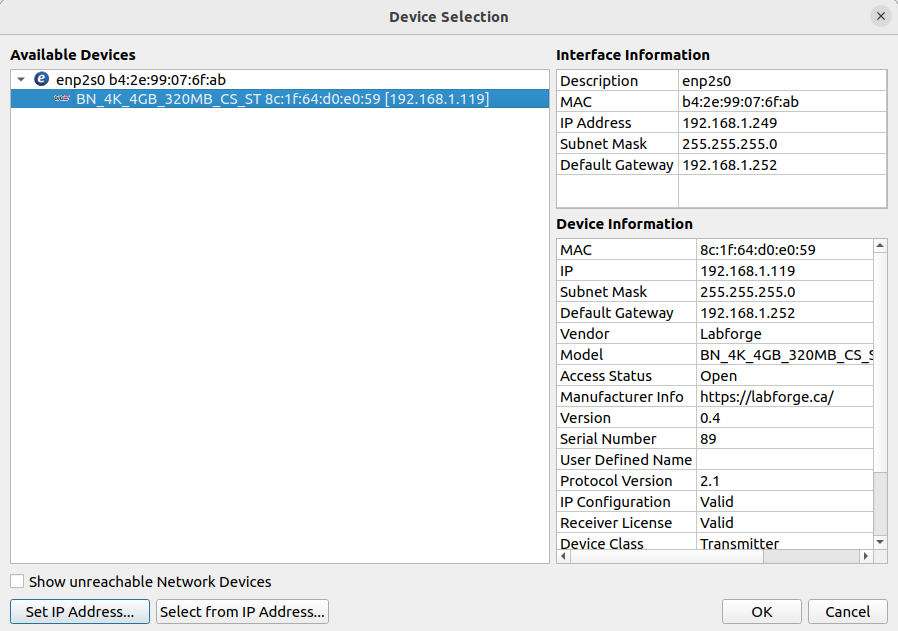
If your Bottlenose is not visible, please check your network and firewall configuration.
Starting Image Acquisition
From eBus Player or Stereo Viewer press...
- the
Startbutton to start the acquisition of frames from the camera. - the
Stopbutton to stop acquiring frames.
Bottlenose Stereo supports acquisition from the left or the right sensor. To change the active sensor, select
Device Control->Visibility->ExpertDevice Control->sensor->{LeftSensor, RightSensor}
Note eBus Player cannot display multi-part images. To display left and right images at the same time use Stereo Viewer instead.
ROS2
Please follow the instructions to set the driver up here. Once the environment is configured you can launch the aquisition from a shell as follows. Replace <MAC> with the MAC address of your Bottlenose. It is printed on the device or can be shown in the Device Selection dialog in eBusPlayer or Stereo Viewer. The parameter -p stereo:=true is optional and only used for Bottlenose Stereo to start simultaneous stereo capture like Stereo Viewer.
ros2 run bottlenose_camera_driver bottlenose_camera_driver_node \
	--ros-args -p mac_address:="<MAC>" -p stereo:=true
Python SDK
A comprehensive example on how to connect to the camera and stream images can be found here.
Parameter Configuration
Each block of the imaging pipeline can be configured via the GigE Vision 2.1 interface, we provide detailed instructions for each block.
Updated 8 months ago