Getting Started
Thank you
Congratulations on purchasing a Labforge Bottlenose smart camera! As a small, Canadian company we sincerely appreciate your business. Please don’t hesitate to reach out to us should you have any questions or need assistance.
Included in the Box
Bottlenose is available in two versions: stereo and monocular.
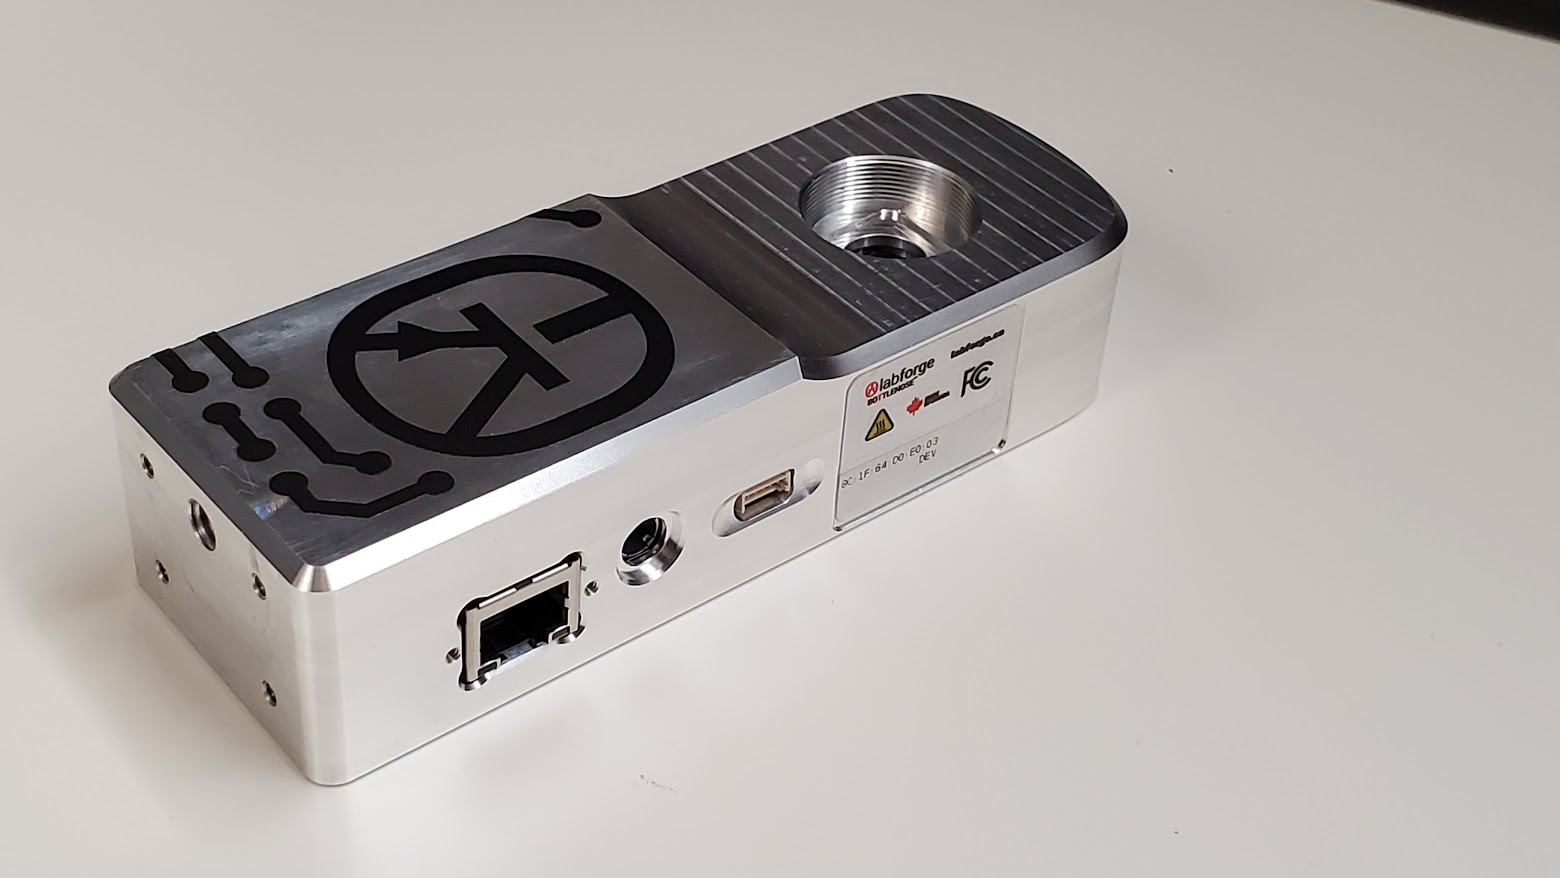
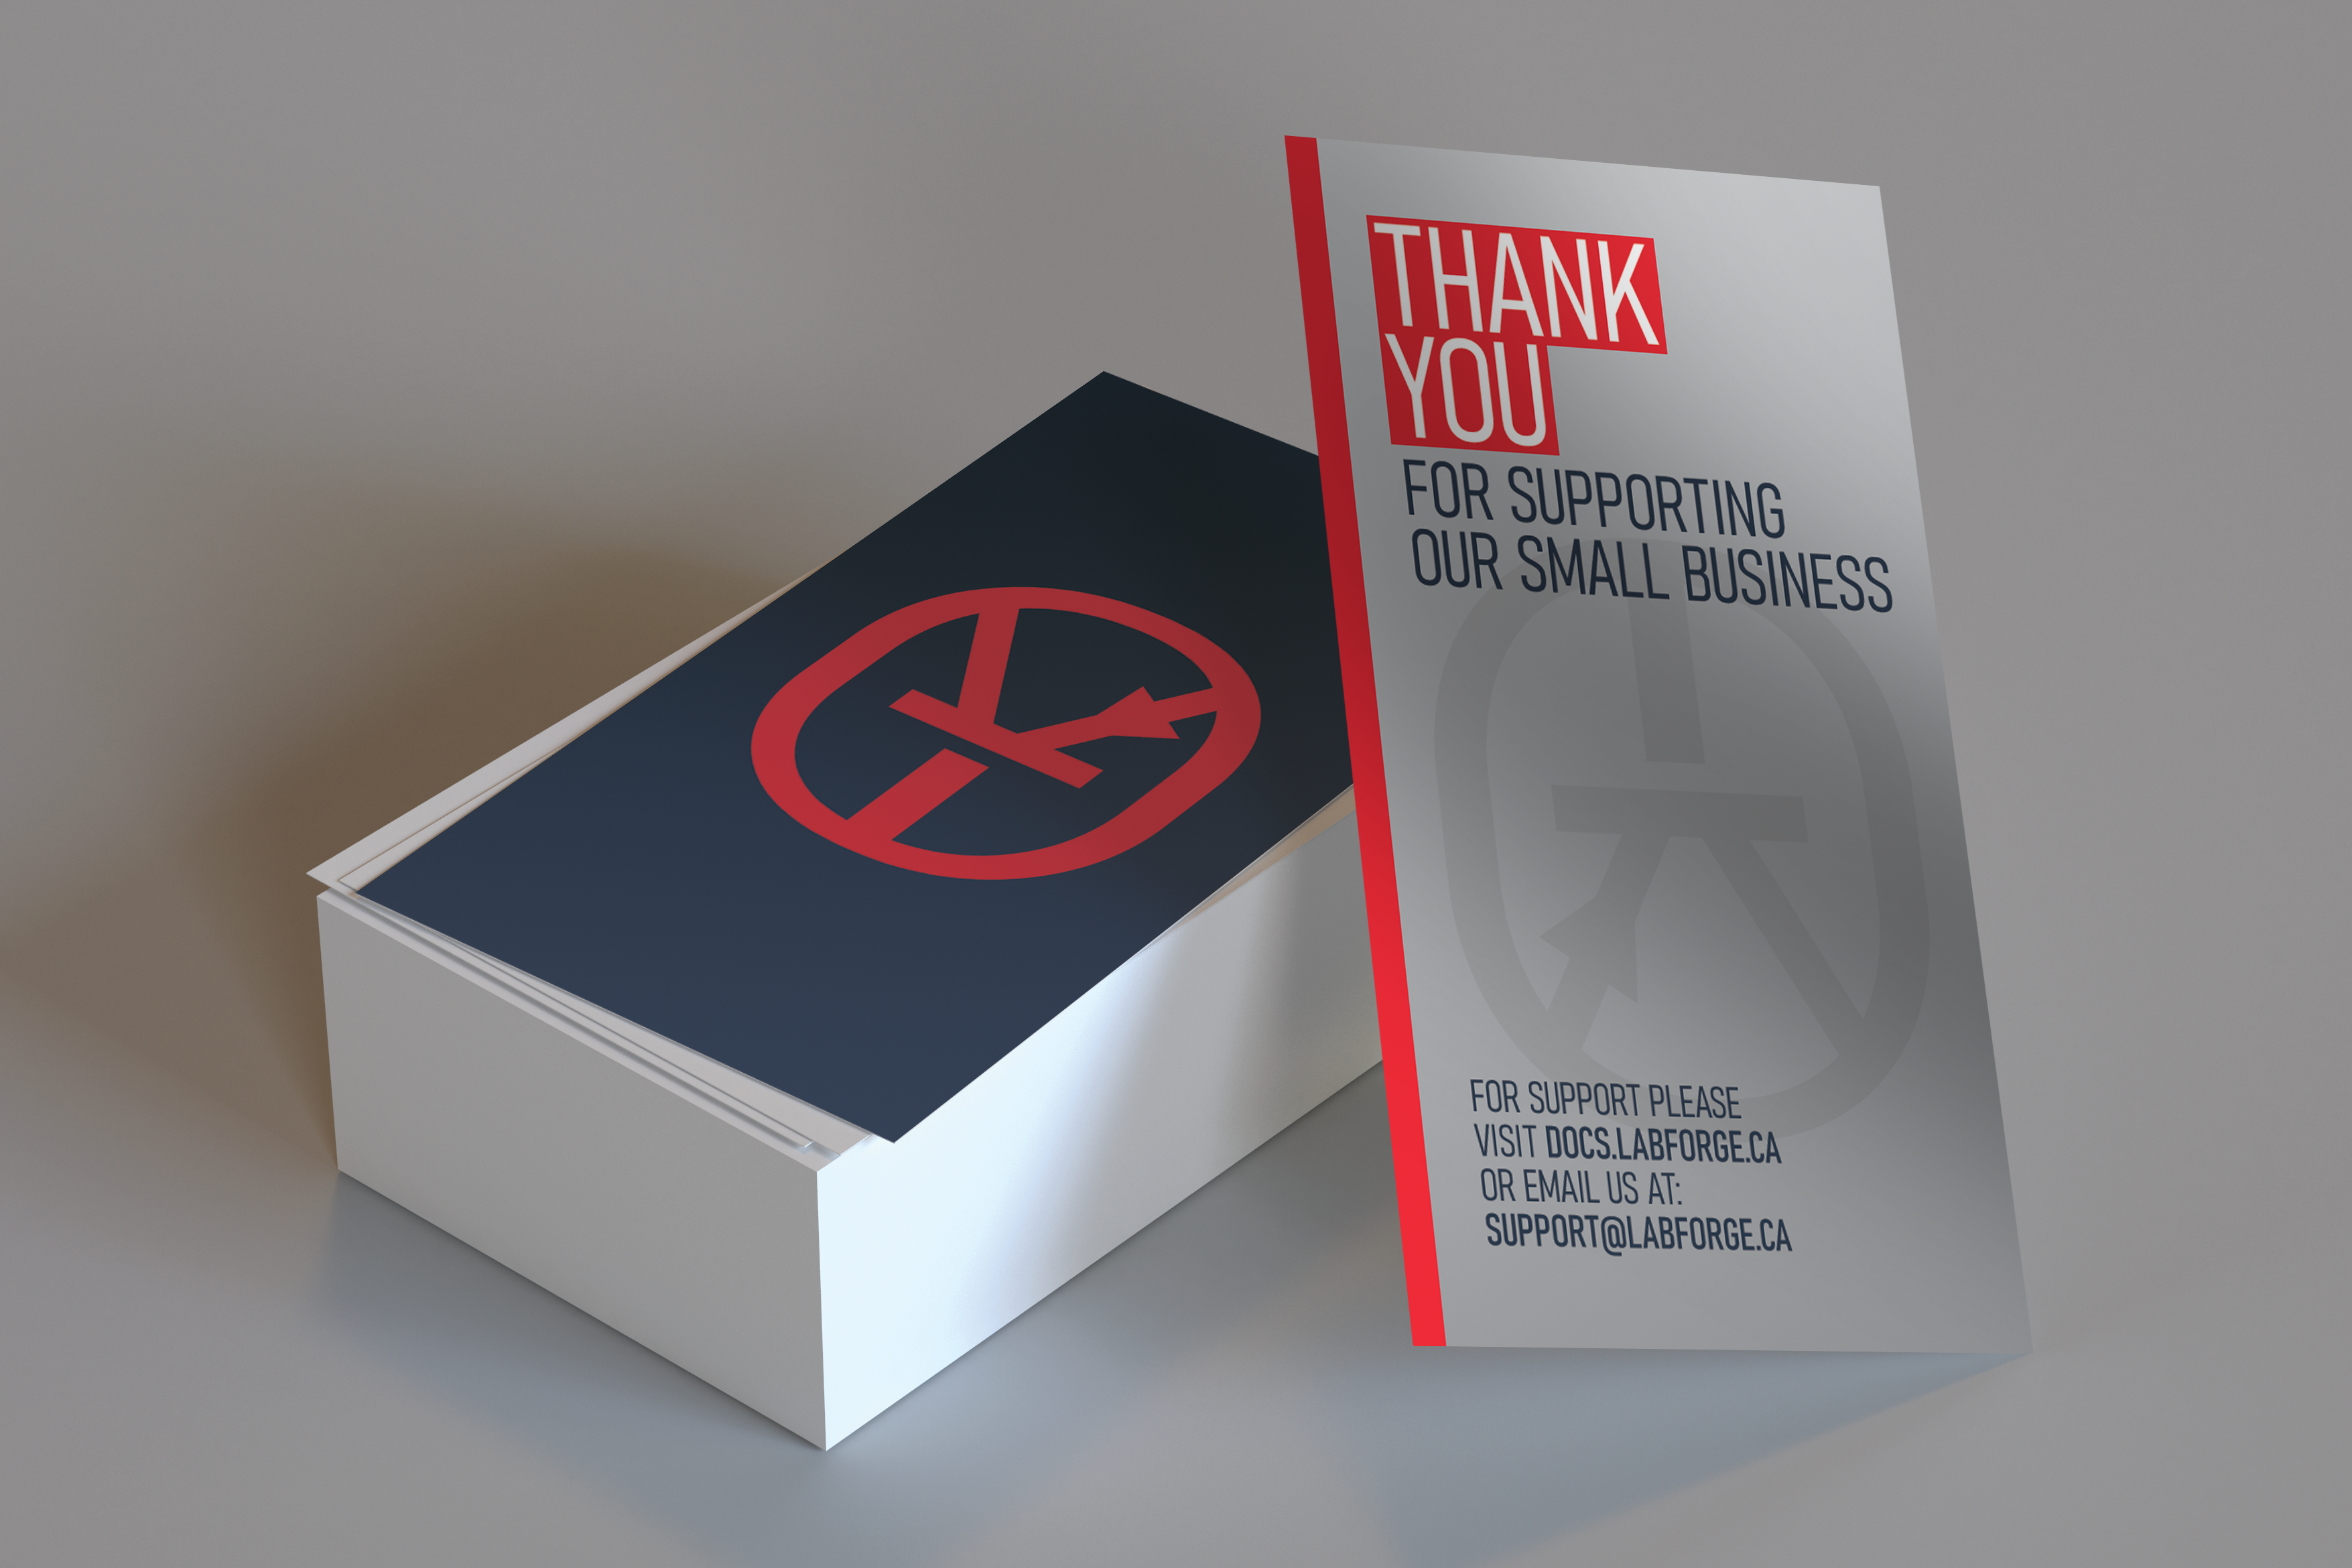
Inside the box for the stereo version, you will find the Labforge Bottlenose stereo camera and a business card with our support and contact information.
If you purchased the monocular version, the box will contain the monocular Labforge Bottlenose camera and a business card with our support and contact information.
Hardware Requirements
To use the camera for the first time, you need to choose an appropriate lens. A 12V 2.0A power adapter is recommended. Both items are not included in the package. We recommend the following.
- XP Power VEL24US120-US-JA as a suitable power adapter.
- Validated Lenses
If you were shipped a demo kit with a C-mount lens, you would also find a CS->C adapter. Please screw the adapter into the lens holder and then screw the lens into the holder.
The lens requires manual focusing and aperture to adjust brightness. Please follow your lens vendor's instructions on how to adjust focus and aperture. Most lenses have two rotating rings for these settings.
Software Requirements
Depending on what you connect Bottlenose to, you will need:
- Microsoft Windows 10 or 11 on x64
OR
- Ubuntu Linux 18.04, 20.04, 22.04 (only up to Kernel 5.19) on x64, installed with secure/UEFI boot disabled
OR
- Nvidia Jetpack 4.6 on aarch64
Connecting Your Camera
Please plug the Bottlenose Ethernet port into a Gigabit Ethernet network that can serve a DHCP address; as most home or office routers do. Bottlenose also supports LLA for direct Ethernet connections. On Microsoft Windows systems with a default Ethernet configuration, you can plug Bottlenose directly into the Ethernet port. The Host PC and Bottlenose will automatically establish Link-Local Addresses. Please see our guide, on how to adjust the minimal transfer unit (MTU) for Ethernet packets to at least 9000 bytes for optimal performance.
Power up Bottlenose by connecting the power adapter after the Ethernet is connected to the network.
Ensure that Firewalls are Disabled
The GigE Vision protocol relies heavily on UDP traffic. Default firewall configurations on your system can affect that traffic. Please check your firewall if it is blocking any UDP traffic.
The Bottlenose File Utility further relies on FTP (TCP port 21) to transmit AI models and firmware images.
Ubuntu Linux
By default, the universal firewall in Ubuntu Linux is enabled. You can check and disable the firewall from a terminal as follows.
# Check for firewall status
sudo ufw status
# Disable firewall
sudo ufw disable
Download and Install the Required Software
Your camera comes packaged with GigE Vision 2.1, a protocol cameras use to talk to computers. To communicate with the camera, please first install the Pleora eBus SDK, and Bottlenose Utilities.
- Follow the steps outlined here to install the SDK.
- Please follow the steps outlined here to install Bottlenose Utilities for your platform.
Install the Latest Firmware
After unboxing a firmware update is required.
- Follow the steps outlined here to update the Bottlenose Firmware.
Updated 8 months ago